Running Arch on the TI Nspire CX Calculator
This is a follow up to my previous post on how to run Debian on the Nspire, this time we will be going deeper into the matter and compiling the Linux Kernel ourselves, and doing such in a way that it’s compatible with Arch Linux ARM
Hardware requirements⌗
The requirements for this project are the same as for the last one, here’s what you’ll need:
- A Texas TI Nspire CX or CX CAS
- USB Hub
- Mini-B OTG USB Cable
- USB Drive
Setting everything up⌗
Since we will be building the Kernel ourselves this time we will need to do some special work on our setup, in particular to our build environment.
Cross Compiling⌗
Firstly, we must get a cross-compiler working, in this case an arm-none-eabi
type compiler, there’s a caveat though, in order for the Kernel to work with
the Nspire we must build it on an outdated toolchain. There is a good tutorial
over on Ndless SDK on how to do that, but we will be going over
the steps here.
Clone the SDK
git clone --recursive https://github.com/ndless-nspire/Ndless.git
Run the
ndless-sdk/toolchain/build_toolchain.shscript.- This will download the toolchain as well as build it for you. It will
take a while.
Compiling is tough on the CPU
- This will download the toolchain as well as build it for you. It will
take a while.
The original guide recommends adding the binaries’ path to your
PATH, but since I don’t think that amending your.bashrcfor one-time projects like these is worth it, and having to manually edit your path can be boring, I have created thisbashscript that does that. Place it inside theNdlessfolder, and then source it (make sure your current work path is theNdlessfolder too, i.e.cdinto it).Your cross-compiler should be working now. Test it by running
arm-none-eabi-gccand see if you get any output.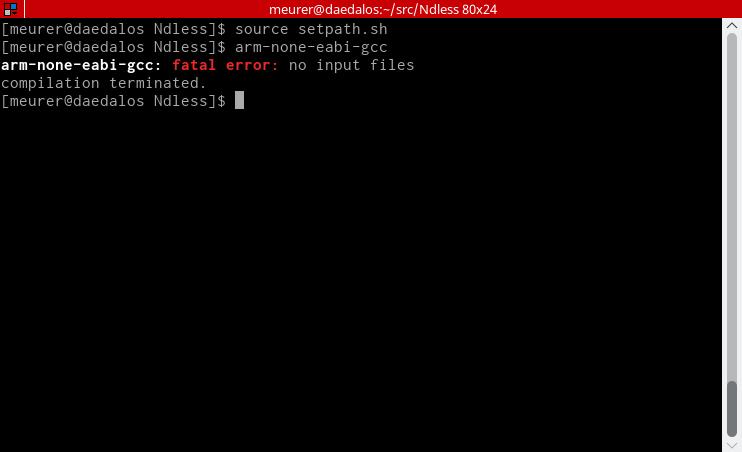
You should get output like this
If you managed to produce output in step 4. that means your Cross Compiler is
working well. Remember to source that file whenever you want to use the
binaries you compiled, or add them to your PATH on .bashrc if you think
you might be using them often.
Getting the kernel⌗
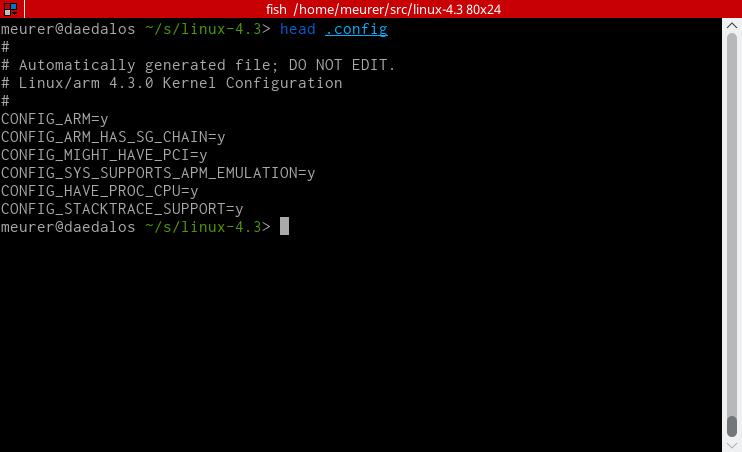
Every kernel compilation starts with a configuration file, this one is no
different. Since setting the configuration so that it works on the Nspire is a
hassle, I have set up a repository that will contain
configurations for different versions of the Linux kernel. At the time of
writing, solely 4.3.0 is there, but work on other versions is ongoing. Feel
free to contact me if you’d like a config for a version of the kernel not yet
supported. For the rest of this guide we will be using Kernel 4.3.0, although
nothing should change for future versions.
Download the Linux kernel and untar it
Clone the configurations repository
git clone https://github.com/lovesegfault/nspire-kernel
Copy the configuration file to the kernel folder, name it .config
cp nspire-kernel/4.3.0/config linux-4.3/.config
With this your kernel is ready for compilation, don’t worry, we will get to it in a moment.
Compiling the kernel⌗
Now that we have set up all the pieces that we will need for the
compilation, we can start it. Make sure you have your .config file in the right
place. Also confirm that you have the toolchain we compiled in your PATH.
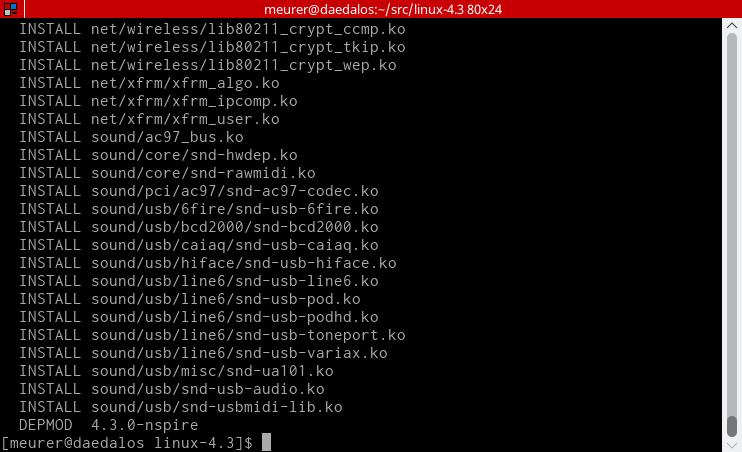
ARCH=arm make -jXARCH=armspecifies the architecture we’re building to-jXparallelizes compilation. ReplaceXwith your thread count.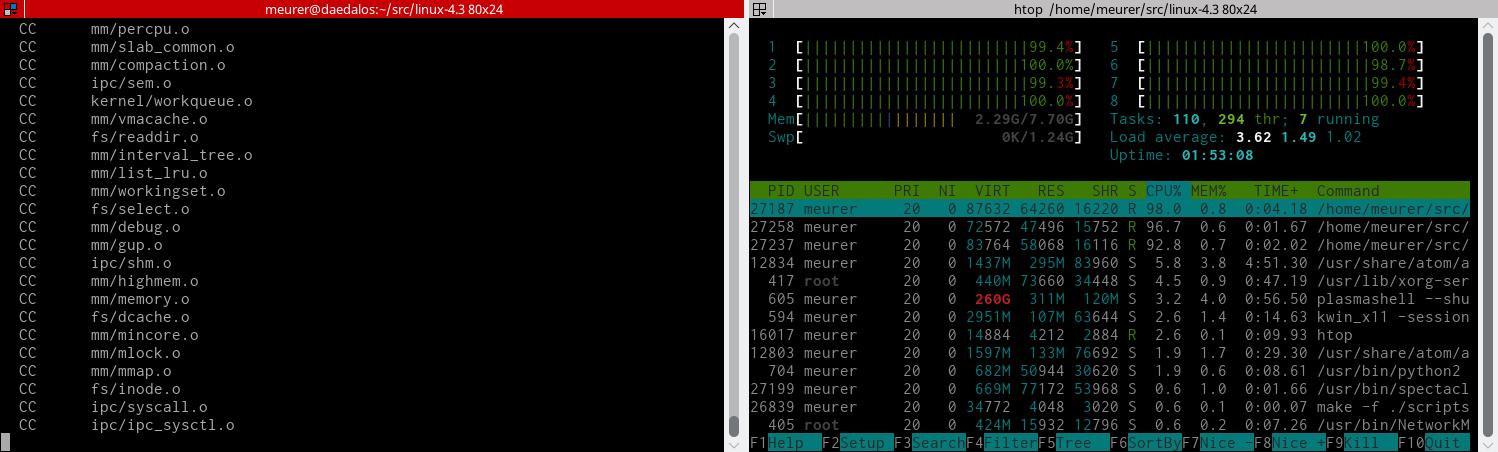
Compiling the kernel, get yourself a cup of coffee
Check that you have the following files
arch/arm/boot/zImagearch/arm/boot/dts/cx.dtb
The compilation step is now complete. We have built our kernel image (zImage)
and out device tree file (nspire-cx.dtb) which are the files we needed.
Preparing the system drive⌗
In my last post we set op our rootfs using debian tools, this time it will be a bit different. Up until now this guide was distro-independent, apart from the fact that the config file is heavily influence by arch linux’s one, but we must shift this perspective now to focus on the subject of this post: Arch Linux. For the rest of this project we will be using ALARM, the Arch Linux port for the ARM architecture.
Getting the files⌗
Download the latest version of ALARM for ARMv5
Make sure your USB drive uses an MBR partition table
Format the drive. Add some SWAP space, it will be useful for doing more memory-hungry operations.
- I’m using 512MiB Swap space on my drive, reason for which is the fact that my drive is small at 8GB.
Untar the file you downloaded into the drive
sudo bsdtar xzf ArchLinuxARM-armv5-latest.tar.gz -C ~/mnt/Replace~/mntwith wherever you mounted your drive.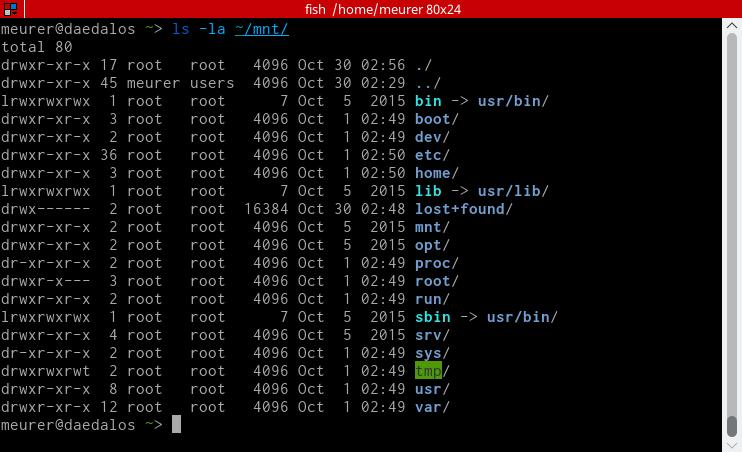
Your rootfs should look like this
Installing modules⌗
cdinto the directory where we compiled linuxMake sure the
arm-none-eabitoolchain is in yourPATHInstall modules to the USB drive
sudo ARCH=arm make modules_install INSTALL_MOD_PATH=~/mnt/
Changing root with QEMU⌗
Make sure you have
qemu-user-staticandbinfmt-supportinstalled.Copy QEMU binaries to the drive:
sudo cp /usr/bin/qemu-arm-static ~/mnt/usr/binRegister
qemu-arm-staticas an ARM interpreter in the kernel (must be root)Change root into the new rootfs. If you are running arch and you have the
arch-install-scriptspackage installed you can usearch-chrootSynchronize package databases
pacman -SyyAt this point you might want to install some recommended packages, such as
sudo. If you have a USB WiFi Adapter connected to your hub you should also consider installingdialogandwpa_supplicant
Downgrading the kernel⌗
Since we are using an outdated kernel version, 4.3.0, relative to the one
on the ALARM image we extracted we must downgrade the kernel. Firstly you will
need a kernel package. You can download the ones I compiled
(linux-armv5-4.3.0-1-arm.pkg.tar.xz and
linux-armv5-headers-4.3.0-1-arm.pkg.tar.xz) and install
from the chroot with pacman -U [FILES], or compile it yourself. You can do
that with either distcc (recommended) or with the following steps:
Clone the ALARM PKGBUILD repository
Roll it back to commit
c82145d0d491c2e216ff49ec60d3e83c13e73230git reset --hard c82145d0d491c2e216ff49ec60d3e83c13e73230
Copy the
core/linux-armv5folder somewhere elseReplace the
configfile in the folder with our ownGet an MD5Sum of our config file
Replace the MD5Sum on the
PKGBUILDfile with out new one, it’s the last one in the list.makepkg -cs --install
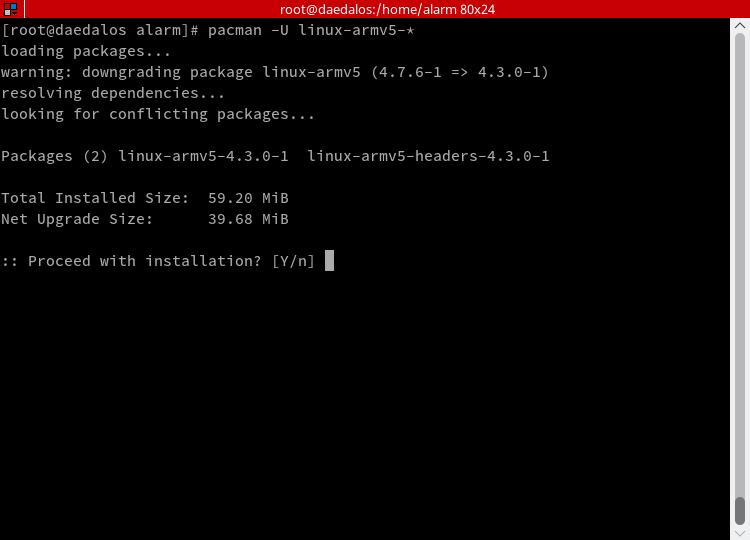
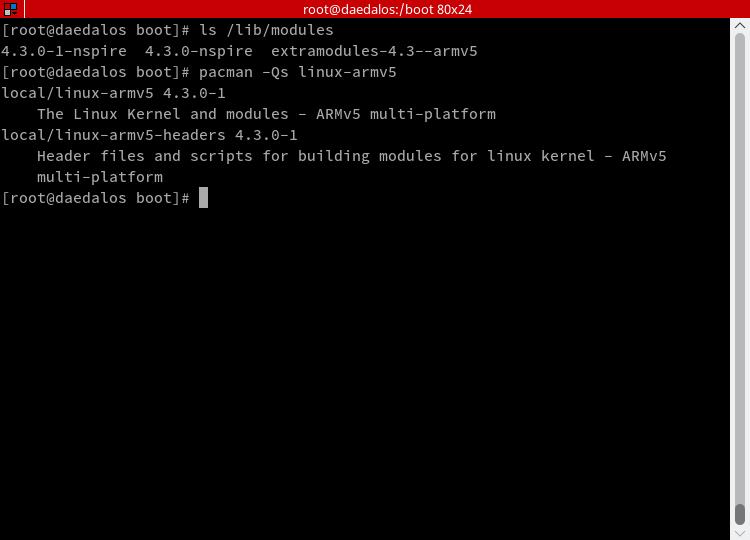
Whichever way you choose, you can check if it worked by:
- Running
ls /lib/modulesand seeing if you see the correct module folder there. - Running
pacman -Qsand checking if it lists the kernel as version4.3.0-1
Lastly, add the packages linux-armv5 and linux-armv5-headers to your ignore
list over on /etc/pacman.conf. To do so, uncomment the IgnorePkg line, and
add them, separated by spaces, to it. This will guarantee that these changes
won’t be later overwritten by some system upgrade.
Setting up the calculator⌗
To run the bootloader for the Linux kernel you will need to jailbreak your calculator. There are a lot of good online tutorials on how to do this, I, for one, recommend the guide from TIPlanet. With that out of the way we can get to setting up the files on the calculator’s flash memory.
Download the bootloader
Download the starting script
cdinto the folder containing Linux, where we performed the compilation steps.Copy
arch/arm/boot/zImageandarch/arm/boot/dts/cx.dtbsomewhereConcatenate the
.tnsextension to both of them
Since the TI Connectivity software does not work on Linux at all (not even under Wine), you will require either a Windows or MacOS machine to get files to and from your calculator, Virtual Machines work.
Edit the
ndless.cfg.tnsfile and appendext.ll2 linuxloader2to it.- This associates our starting script to the bootloader program
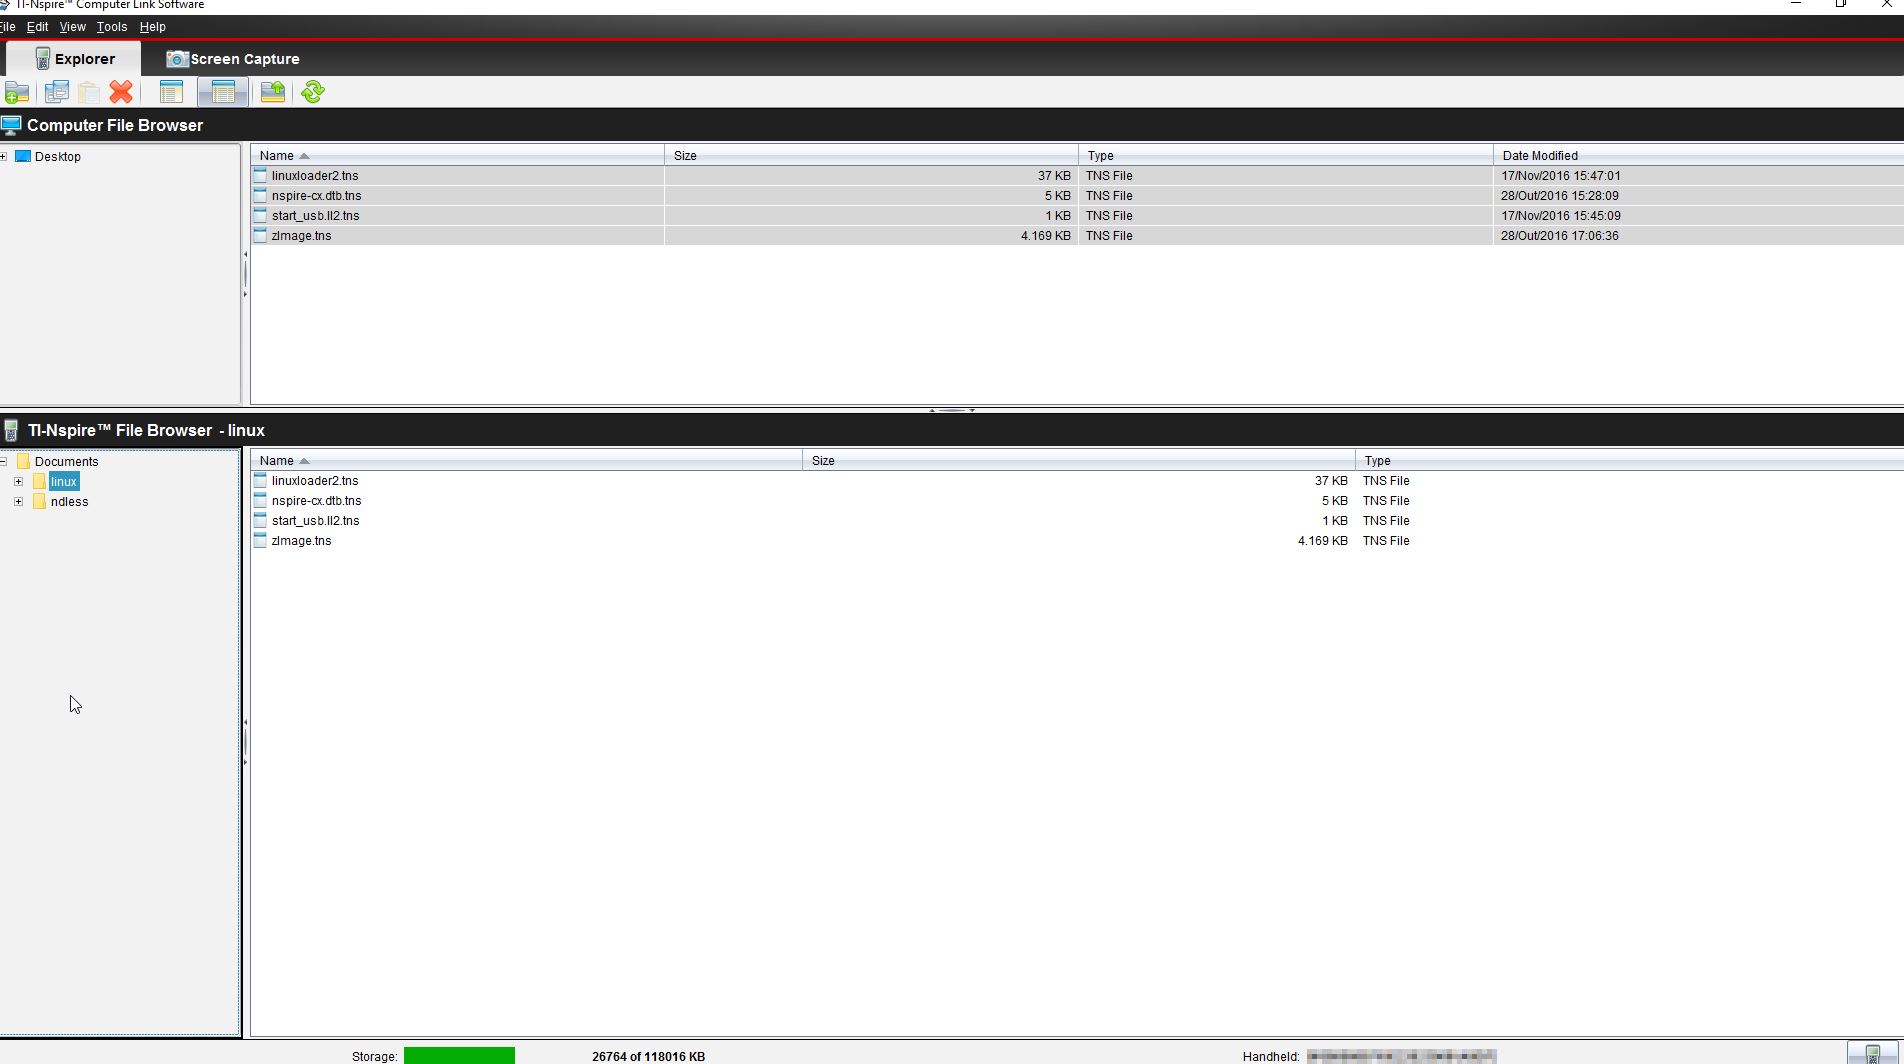
Create a folder named
linuxPlace the files you downloaded,
zImage.tns, andnspire-cx.dtb.tnsinto thelinuxfolder
Finishing up⌗
Once the files have been placed on the calculator, the process is done. You may now start the OS by executing the bootloader. If you have any questions on how to do this you can reference the initial article. Below is a demo video of the calculator playing Doom on Linux.