Running Debian on the TI Nspire CX Calculator
I’ve been taking a look at running Linux on ARM microprocessors, cross-compiling the Kernel from an x64 architecture and kernel tinkerings of the kind. After a bit of research I came across the information that my calculator, a Texas Instruments Nspire CX CAS, happens to use an ARM processor. With a clock of 150MHz on it’s CPU, 64MB of RAM and merely 100MB of flash memory I wasn’t sure Linux would run on this, but it turns out it’s possible .
Hadware Requirements⌗
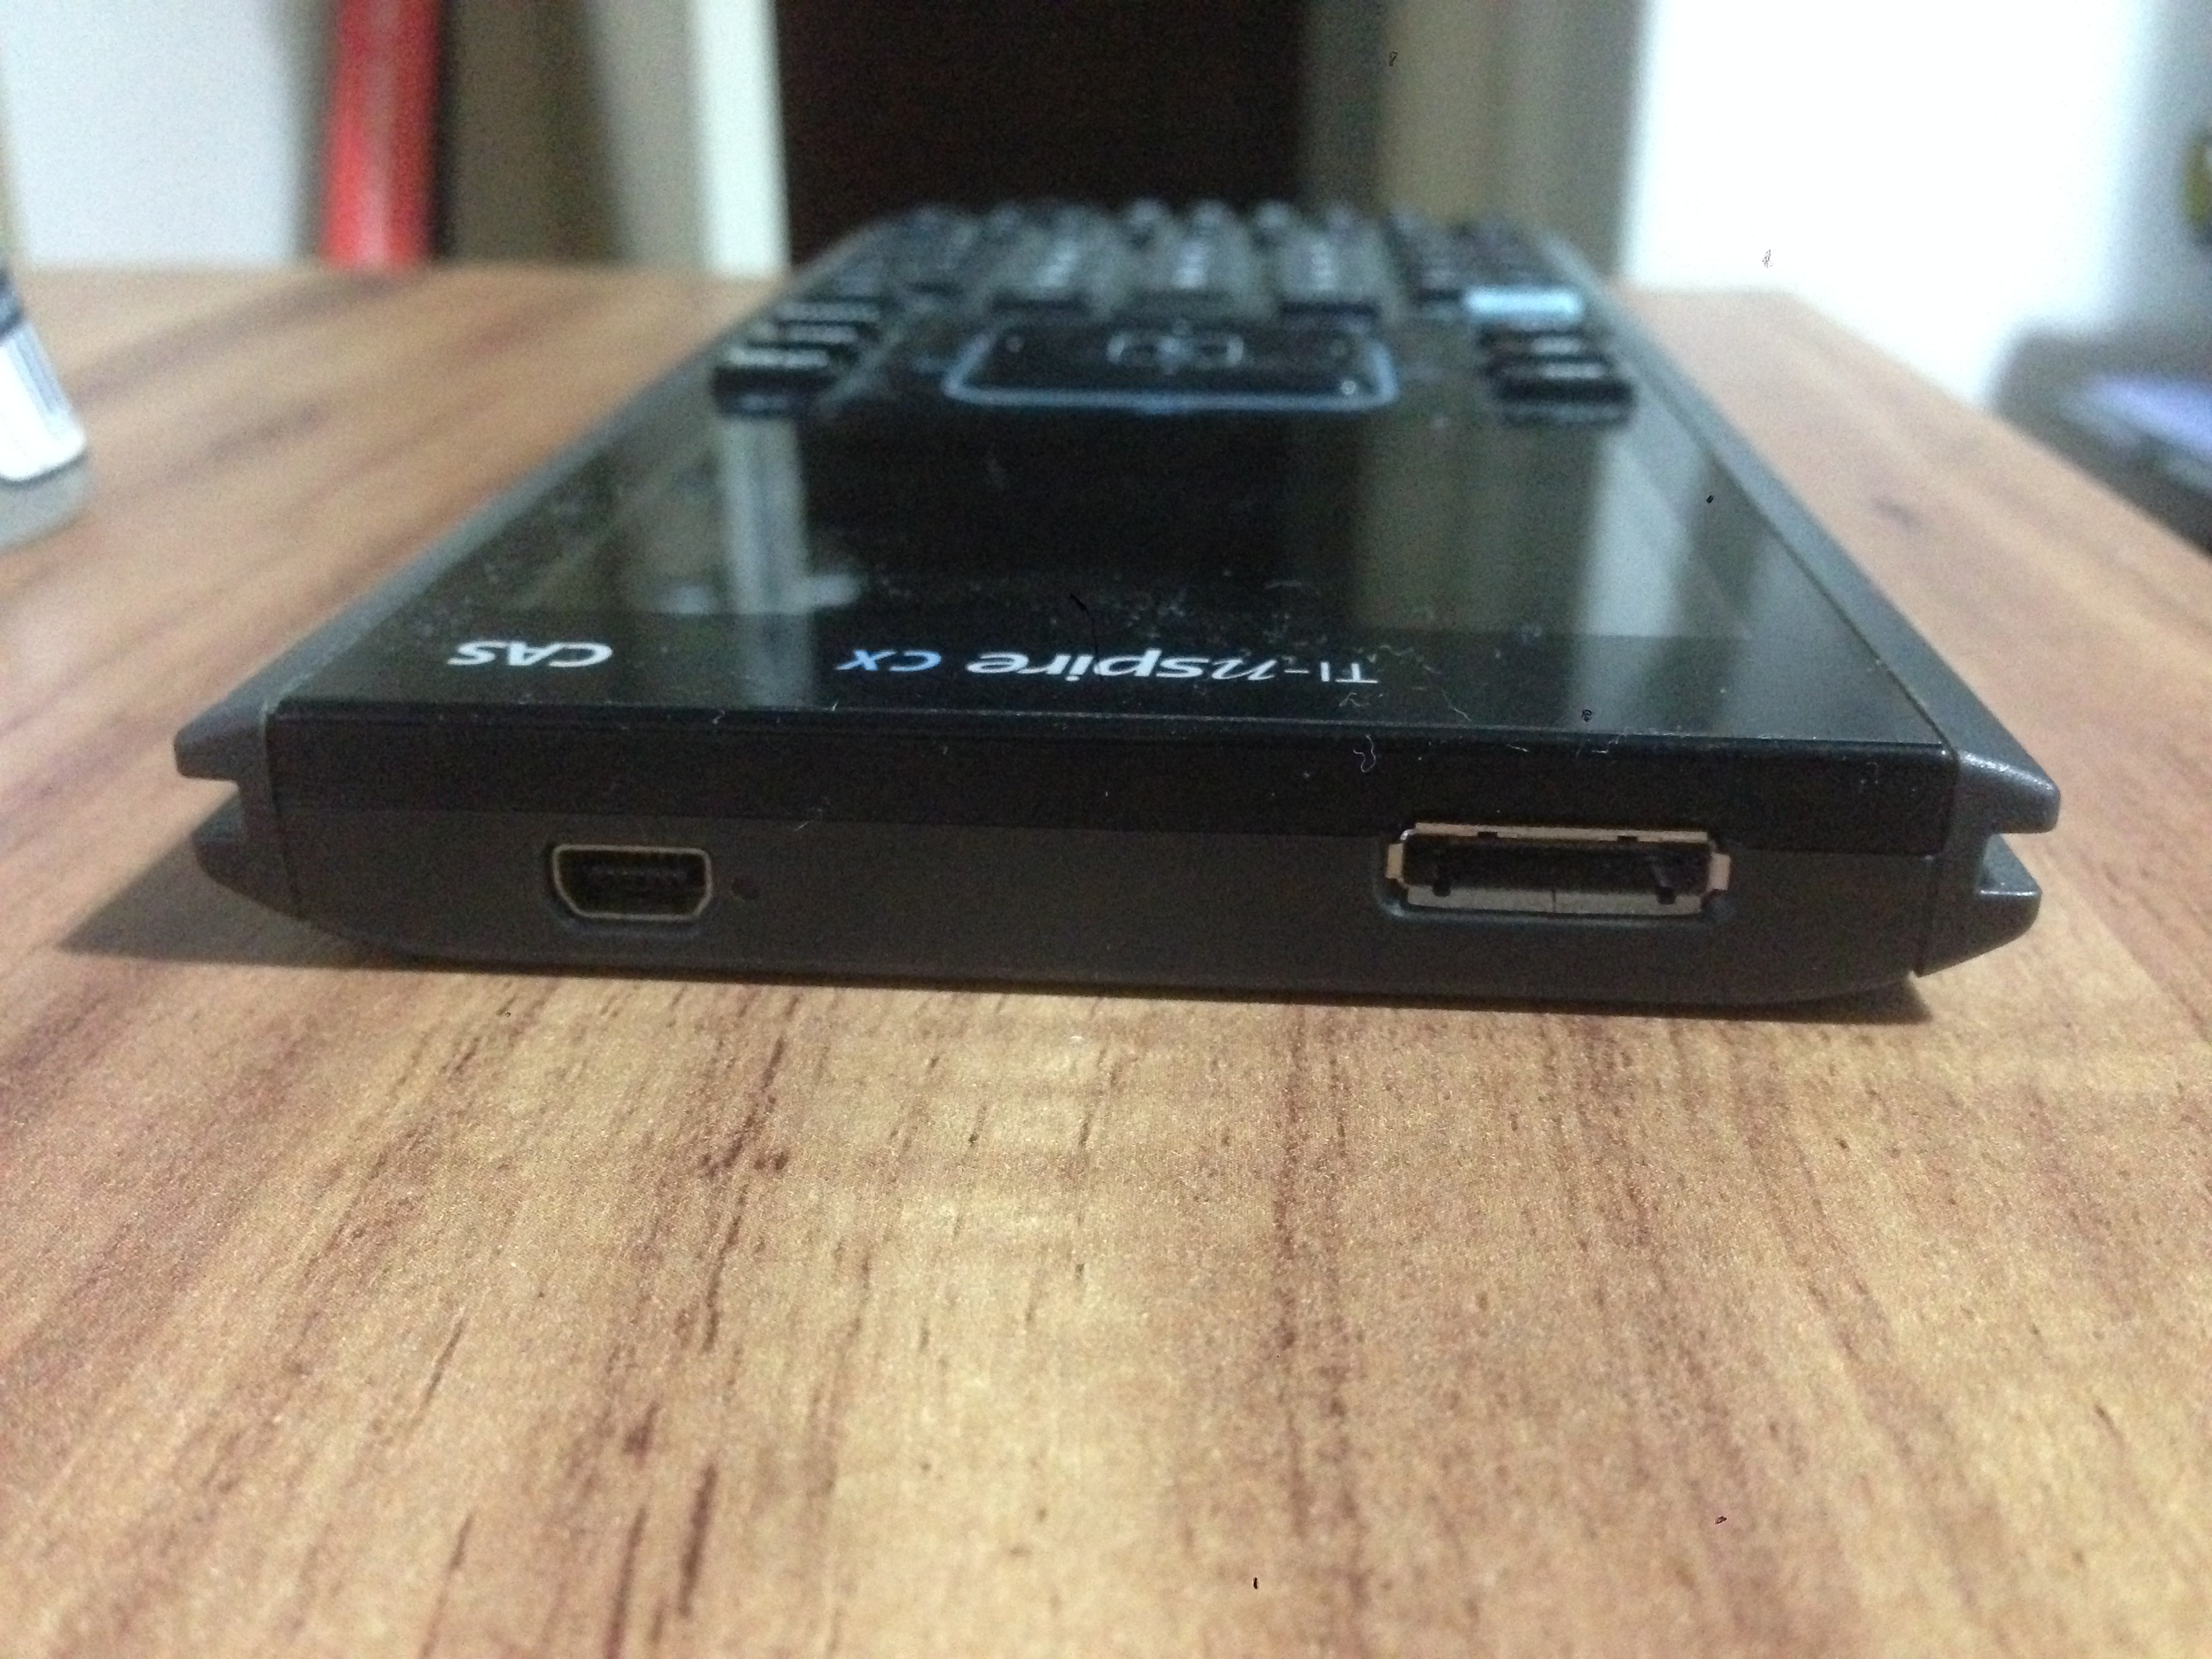
The IO of the Nspire is poor. As you can see in the image above, the TI has one mini USB port (left) and one non-standard connector (right) used for their Wi-Fi add-on. Since the calculator’s keyboard is painful to type on, I recommend you get a USB hub to connect a keyboard and the USB drive. Since the calculator solely has mini B, you will need a Mini-B OTG USB cable to connect your hub to the calculator. You’ll also need a USB drive, since the internal 100MB isn’t enough to store Debian’s filesystem.
Setting up the drive⌗
Firstly it’s important to note that you should be using Debian to perform this. I happen to run Arch Linux, and after long and insistent attempts at performing this on it I yielded to using Debian atop of a VM.
With that said, begin by formatting your USB drive to EXT4. You can do this by:
Identify the address of your drive by running
lsblk. It should be of form/dev/sdxY, mine is/dev/sdc1for example.Make sure the drive is unmounted by running
sudo umount /dev/sdxY.Run
sudo mkfs.ext4 /dev/sdxY.
With this done we now must install our dependencies by executing
sudo apt-get install qemu-user-static binfmt-support debootstrap. These
packages are for:
qemu-user-static- Running our ARM compiled system on our x86/x64 machine.binfmt-support- “A more flexible version of the #! executable interpreter mechanism”debootstrap- Installs a Debian base system into a directory
Proceed by mounting the flash drive, create a folder for the mouting to take
place, mkdir foo for example, and mount the drive with
sudo mount /dev/sdxY foo. We must now bootstrap Linux on the drive, which is
what debootstrap is for. Run
sudo debootstrap --arch=armel --foreign stable foo/. This will take a while,
be patient. Once that has finished we must copy the ARM emulator (qemu)
to our new rootfs, which we can do with
sudo cp /usr/bin/qemu-arm-static foo/usr/bin. We must also copy the APT list
with sudo cp /etc/apt/sources.list foo/etc/apt/sources.list. We can now finish
bootstrapping by rooting into the rootfs with sudo chroot foo/ and running
/debootstrap/debootstrap --second-stage.
Now we can set up some quirks of the OS, begin by setting a root password with
passwd. After this I recommend you exit the system by running exit and
then using chroot to get into the rootfs once more. Also remember to update
your repositories with apt-get update. Now it’s possible to download any
desired packages with apt-get install -d PACKAGE, the -d flag is crucial
here since we must install them once running on the ARM CPU and binaries.
I recommend installing sudo at least, and then setting up a user
using with akin of useradd -m -G sudo -s /bin/bash USERNAME. Also remember to
set a password for your newly created user with passwd USERNAME. Make sure to
keep track of what you download so you can install it later on.
Setting up the calculator⌗
By default the Nspire firmware doesn’t allow you to run more complex code, so in order to do that we’ll need to break out of the firmware’s limitations. The jailbreak for the CX is the Ndless. There are good online tutorials on how to do the jailbreak, I recommend the one from TIPlanet as a great reference, make sure you pick the correct one for your firmware version. The process is simple and painless, this shouldn’t be much of a setback. Once you have completed your jailbreak I recommend you take a look at all the cool apps you can install. Micro Python, which is an almost fully functional Python interpreter, and nDoom which, you guessed it, is a port of Doom, are specially interesting.
Once you have the jailbreak out of the way it’s time to set up the files on the calculator’s own file system (ROM). This part will require Windows or OSX, my attempts at running TI’s connectivity software on Wine haven’t been successful. Begin by download the required files, which are:
We must now edit the ndless.cfg.tns file and add ext.ll2 linuxloader2 to the
end of it, this will associate our script to the linux loader. Rename the DTB
file to nspire-cx.dtb.tns and create a folder on your calculator named Linux,
and inside it place all the required files you downloaded.
Booting up⌗
With these steps having been successful your system is ready for using. Make
sure Ndless is functional, go into the Linux folder and run the
start_usb.ll2.tns script. Booting takes a while, given that you followed
this guide with no mistakes, after a couple of minutes Debian should be up and
running. You can now install any packages you downloaded beforehand by running
apt-get install PACKAGES as root. In case you’re looking to try out a desktop
environment I’ve tested Xorg which worked fine, as well as OpenBox which was
slow (as expected) but was usable to my surprise. After that you’re done, your
calculator now runs a fully functional Linux distro.